 Click for RPS hawk 250 products!


")


TrailMaster
Condition - Display Model Display Model TrailMaster Blazer4 200X 200CC Family Size 4-Seater Go Kart, 4-Stroke, Single Cylinder, Air Cooled Sales Tax is Extra. Shipping is available for extra cost...

lifan
Lifan KPV Side Box Rack Set Please see #5 for image This listing is for Image #5 Lifan KPV Side Box Rack Set everything else on the picture is extra please contact us sales@Txpowersports.com for...
lifan
Lifan KPV 150 Performance Shock Please see #6 for image This listing is for Image #6 Lifan KPV 150 Performance Shock everything else on the picture is extra please contact us sales@Txpowersports.com...
lifan
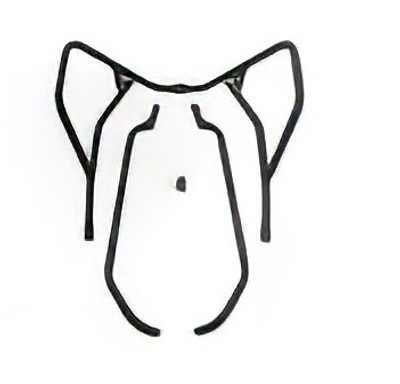
Lifan KPV 150 Bumper Set Please see #5 for image This listing is for Image #5 Lifan KPV 150 Bumper Set everything else on the picture is extra please contact us sales@Txpowersports.com for pricing...
lifan
Lifan KPV 150 Rear Rack Set - Enhance Your Ride Please see #4 for image This listing is for Image #4 Lifan KPV 150 Rear Rack Set everything else on the picture is extra please contact us...
lifan
Lifan Kpv 150 Main Stand Set. Please see #2 for image This listing is for Image #2 Lifan Kpv 150 Main Stand Set everything else on the picture is extra please contact us sales@Txpowersports.com for...
lifan
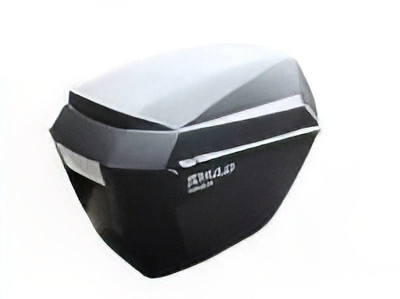
New Lifan KPV 150 Boxes Set Please see #1 for image This listing is for Image #1 New Lifan KPV 150 Boxes Set everything else on the picture is extra please contact us sales@Txpowersports.com for...
Vitacci
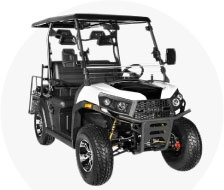
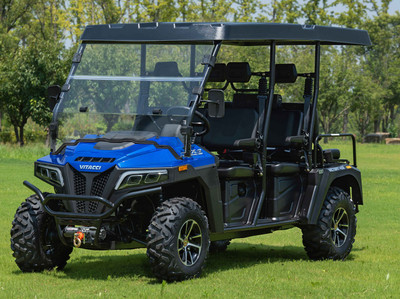
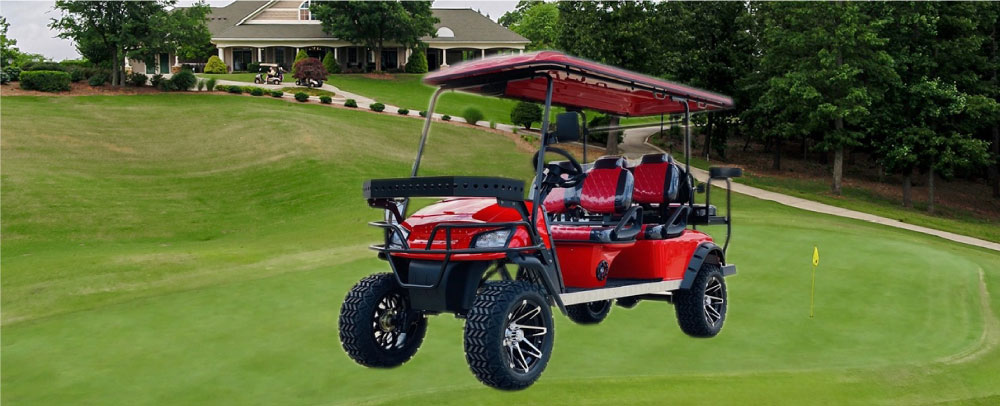
Vitacci Victory 450 Max Dlx 6-Seater Golf cart, Single cylinder, four stroke, water cool The Vitacci Victory 450 Max Dlx is a spacious 6-seater golf cart with a remarkable top speed of 65 km/h. It...
Vitacci
NEW GOLF CART VICTORY 450 EFI 4X4 UTV 450 PRO DumpBed When you're investing in motorsports, make sure you get your money's worth by working with the best in the business. Tx Powersports offers...
Vitacci
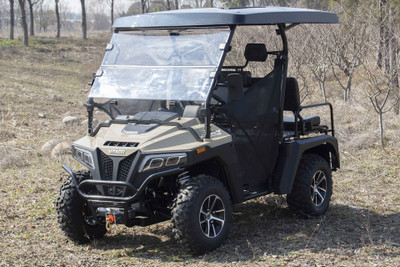
VITACCI NEW GOLF CART VICTORY 450 EFI 4X4 UTV 450 MAX - 4 Passengers When you're investing in motorsports, make sure you get your money's worth by working with the best in the business. Tx...
RFN
RFN Ares Rally DLX Electric Dirt Bike, 3182Wh with LG Premium 21700 Lithium Cells (43Ah) Introducing the RFN Ares Rally DLX Electric Dirt Bike, engineered for professional-level performance and...
RFN
Apollo RFN Ares Rally Pro Electric Dirt Bike, 74V / 2480Wh, LG Premium 21700 Lithium Cells Introducing the Apollo RFN Ares Rally Pro Electric Dirt Bike—the pinnacle of Apollo's innovation in electric...
RFN
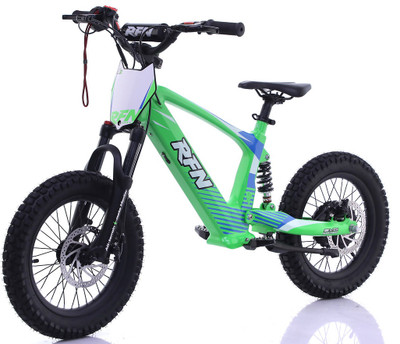
RFN EVO 16 Electric Kids Bike, 500W Brushless Motor, Lithium Battery Introducing the RFN EVO 16 Electric Kids Bike, designed for adventure and excitement! Equipped with a powerful 500W brushless...
RFN
RFN EVO 18 Electric Kids Bike, Aluminium Frame, 500W Brushless Hub Motor Introducing the RFN EVO 18 Electric Kids Bike featuring a lightweight aluminium frame and powered by a robust 500W brushless...
RFN
RFN EVO 20 Electric Kids Bike, 750W Power, Brushless Hub Motor Introducing the RFN EVO 20 Electric Kids Bike, featuring a powerful 750W brushless hub motor for thrilling rides! Designed for young...
ICE BEAR
Icebear EBA216x500 Electric Bike, Powerful 500W Motor With 48V12Ah Removable Lithium-ion battery
ICE BEAR
Icebear EBA218X500 500W Electric Bike, Powered by 48V12Ah Lithium-ion Battery
ICE BEAR
Icebear EBA216X980 Electric Bicycle, 60V20Ah Removable Lithium-ion battery
TrailMaster
TrailMaster Pro Series Dirt Bike TM LK125 4 stroke motor Zhongshen 125 motor The TrailMaster Pro Series Dirt Bike TM LK125 boasts a powerful 123.67 CC engine with a four-gear, non-circulate gear...
TrailMaster
TrailMaster Pro Series Dirt Bike TM LK140 4 stroke motor Zhongshen 140 motor The TrailMaster Pro Series Dirt Bike TM LK140 boasts a potent Zhongshen 140cc 4-stroke motor, providing robust performance...
BOSS MOTOR
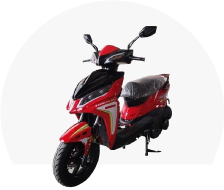
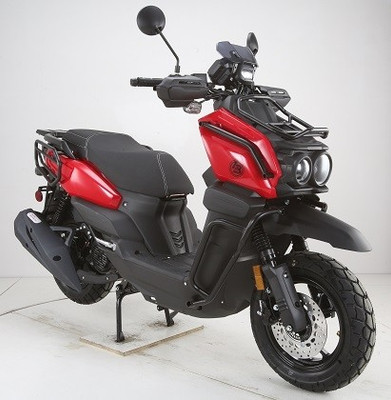
Boss Motor Frontier 200cc Moped Scooter, 12 Inch Aluminium Rim With Meaty Tire, Automatic CVT The Boss Motor Frontier 200cc Moped Scooter boasts a powerful performance with a max power of 12.75/7500...


EGL
EGL A17 RS NC300 KP Adult Dirt Bike, Single Cylinder, 4-Stroke, 4-Valve, Liquid Cooled Adult size dirt bike298cc engineManual transmission At TX PowerSports, we specialize in everything motorized...

Search from over 1 million products


Donec placerat de dictum ornare. Phasellus danos interdum an dipsum malesuada blandit cosmopolis delemento massa lorem mollis delous.
View All PostsPosted by Txpowersports.com on Apr 17th 2024
Mar 28th 2024
Restrictions apply* E.G. home delivery for the golf carts are extra and Fuel surcharge applies to far away states.